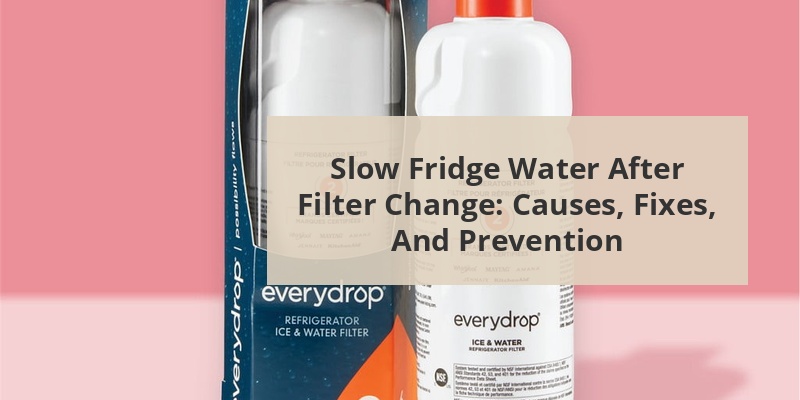
Experiencing slow water flow from your refrigerator dispenser immediately after replacing the filter is a common frustration for many homeowners. This issue typically occurs due to trapped air, improper installation, or compatibility problems with the new filter. While it might seem concerning at first, the good news is that most cases can be resolved with simple troubleshooting steps without requiring professional assistance. Understanding why this happens and knowing the proper techniques to address it can help you restore normal water flow quickly and ensure you get the full benefit from your new water filter.
After installing a new refrigerator water filter, several factors can contribute to reduced water flow. The most frequent cause is trapped air in the new filter system, which creates resistance and slows down water passage. This is especially common with first-time installations or when the refrigerator water line has been empty for some time.
Improper installation is another major culprit. Filters that aren’t seated correctly or aren’t twisted to the proper lock position won’t function efficiently. Some modern refrigerators also have a safety feature that restricts water flow if the filter isn’t installed exactly according to specifications.
Using incompatible or low-quality replacement filters can significantly impact water flow. Aftermarket filters that don’t match your refrigerator’s specifications may have different flow rates or resistance levels compared to original equipment manufacturer (OEM) filters.
Sometimes, low household water pressure becomes more noticeable after a filter change because the new filter adds additional resistance to an already weak flow. Most refrigerator water systems require minimum pressure of 20-120 PSI to function properly.
Content Navigation
How to Fix Slow Water Flow After Filter Change
Flushing the Air Out of the System
The most effective immediate solution is to flush the new filter thoroughly. Most manufacturers recommend dispensing 2-4 gallons of water after installing a new filter. This process removes trapped air and activates the carbon in the filter. Hold a large container under the dispenser and run water continuously for several minutes until flow improves.
Call 888-896-7031 for Free Local HVAC Quotes – Compare and Save Today!
If normal flow doesn’t resume after initial flushing, try this alternating technique: dispense water for 30 seconds, then stop for 30 seconds, and repeat this cycle 5-6 times. This helps dislodge air bubbles that might be trapped in the filter media.
Checking Installation
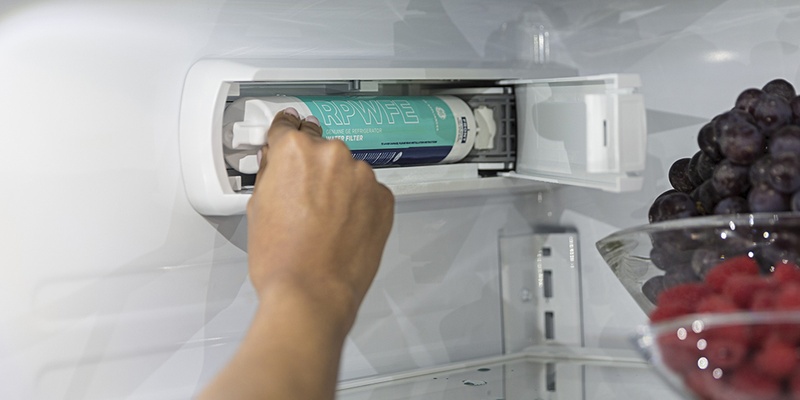
Remove and reinstall the filter carefully following manufacturer instructions. Ensure it clicks firmly into place or turns to the locked position. Some filter housings have alignment marks to indicate proper installation. Listen for a definitive “click” or other indication that the filter is fully seated.
For many refrigerator models, you’ll need to reset the filter indicator after replacement. Consult your owner’s manual for the specific button combination needed for your model. Some common reset methods include:
- Holding the “Filter” or “Water” button for 3-5 seconds
- Pressing a combination of buttons simultaneously
- Using the digital display menu to navigate to filter reset
Troubleshooting Checklist
| Issue | Solution |
|---|---|
| Water still slow after flushing | Check water supply line for kinks or restrictions |
| Filter difficult to install | Verify you have the correct replacement model |
| Water pressure seems generally low | Test household water pressure; should be 20-120 PSI |
| Water flow starts normal then slows | May indicate partial blockage in water line |
| Flow improves briefly then returns to slow | Could be defective filter; consider replacement |
Preventing Slow Water Flow with Future Filter Changes
To minimize flow problems with future filter replacements, establish a regular maintenance schedule. Most manufacturers recommend changing filters every six months or after filtering approximately 200-300 gallons of water. Set calendar reminders to avoid delays that could lead to more severe clogging.
When purchasing replacement filters, choose high-quality options that match your refrigerator’s specifications. While OEM filters typically cost more, they’re designed specifically for your appliance and often provide more consistent performance. If using aftermarket filters, research reviews and select brands with positive feedback regarding flow rates.
Before removing the old filter, shut off the water supply to your refrigerator if possible. This reduces the chance of air entering the system. Also, have towels ready to catch any water that might leak during the change process. Keeping the refrigerator plugged in during filter changes is generally recommended as some models run self-diagnostic functions.
Call 888-896-7031 for Free Local HVAC Quotes – Compare and Save Today!
When to Call a Professional
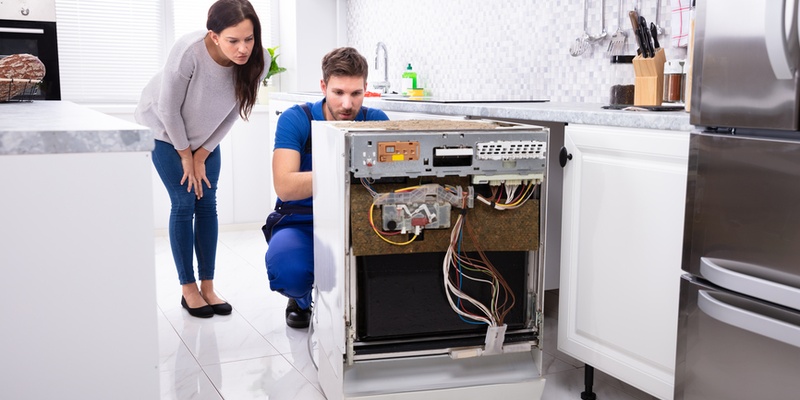
While most slow water issues after filter changes resolve with the steps above, certain situations warrant professional assistance. Contact a service technician if you notice water leaking around the filter housing, unusual noises from the refrigerator when dispensing water, or if slow flow persists despite multiple troubleshooting attempts.
Consider professional help if your water dispenser has additional symptoms beyond slow flow, such as unusual taste or odor that doesn’t improve after proper flushing, or if the refrigerator displays error codes related to the water system. These could indicate more complex problems with the water valve, dispenser components, or internal water lines.
The cost for professional refrigerator water system service typically ranges from $75-$250 depending on your location and the specific issue. Before scheduling service, check your refrigerator’s warranty status, as some manufacturers cover water system repairs within certain time periods.
Different Types of Refrigerator Filters and Their Impact on Water Flow
The type of filter you choose significantly affects water flow performance. Understanding the differences helps you make informed decisions when replacements are needed.
| Filter Type | Flow Rate Impact | Filtration Capacity | Typical Cost |
|---|---|---|---|
| Carbon Block (OEM) | Moderate restriction | 200-300 gallons | $40-$70 |
| Granular Activated Carbon | Lower restriction | 150-250 gallons | $25-$50 |
| Advanced Multi-Stage | Higher restriction | 300-400 gallons | $50-$90 |
| Economy Aftermarket | Variable (often poor) | 100-200 gallons | $15-$30 |
| Premium Aftermarket | Similar to OEM | 200-300 gallons | $30-$55 |
Carbon block filters provide excellent contaminant removal but can cause more initial restriction. They typically require more thorough flushing but provide consistent flow once properly activated. Most OEM filters use this technology.
Multi-stage filtration systems often incorporate several filtering mechanisms, which can increase water resistance. While these filters might cause more noticeable flow reduction initially, they typically remove more contaminants, including pharmaceuticals and microplastics that simpler filters miss.
When selecting replacement filters, consider the certification standards they meet. Filters certified to NSF/ANSI 42 (for chlorine and taste) may have different flow characteristics than those meeting NSF/ANSI 53 (for health contaminants) or NSF/ANSI 401 (for emerging contaminants). More comprehensive filtration generally comes with greater flow restriction.
Tips for Getting the Best HVAC Prices
- Prioritize Quality Over Cost
The most critical factor in any HVAC project is the quality of the installation. Don’t compromise on contractor expertise just to save money. - Check for Rebates
Always research current rebates and incentives — they can significantly reduce your overall cost. - Compare Multiple Quotes
Request at least three estimates before making your choice. You can click here to get three free quotes from local professionals. These quotes include available rebates and tax credits and automatically exclude unqualified contractors. - Negotiate Smartly
Once you've chosen a contractor, use the proven strategies from our guide — How Homeowners Can Negotiate with HVAC Dealers — to get the best possible final price.