
Experiencing unpleasant tasting water after installing a new refrigerator filter can be frustrating. Many homeowners encounter this issue despite expecting improved water quality from a fresh filter. This unexpected taste change often stems from several factors including air trapped in the system, improper installation, incompatible filter types, or normal break-in processes with new filtration media. Understanding why this happens and how to address it can help restore your water’s pleasant taste quickly without wasting your investment in clean, filtered water.
When you replace your refrigerator water filter, several factors can contribute to a temporary unpleasant taste. The most common cause is trapped air in the system that mixes with the water, creating a strange taste or odor. New filters also contain carbon and other filtering materials that need time to settle and properly activate.
Another significant factor is improper flushing. Manufacturers typically recommend running several gallons of water through a new filter before consumption, but many people skip this crucial step. Without proper flushing, dust and manufacturing residue from the new filter can affect water taste.
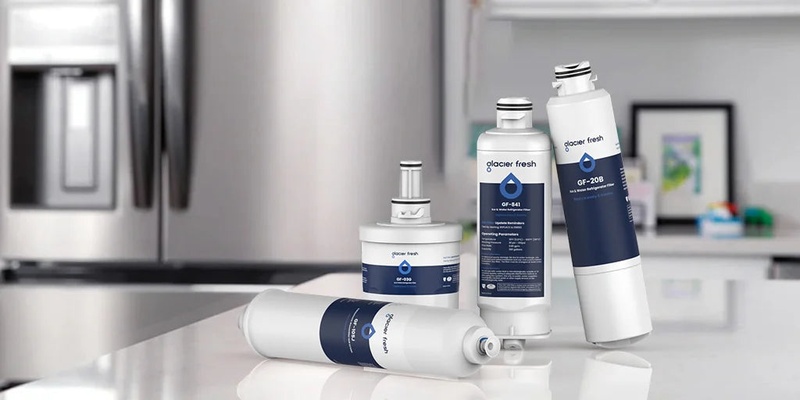
Sometimes, the issue stems from using a non-OEM (Original Equipment Manufacturer) filter that might not be fully compatible with your refrigerator model, resulting in improper filtration or unexpected taste effects.
Content Navigation
Common Taste Problems and Their Causes
| Taste/Odor Issue | Possible Causes | Solution |
|---|---|---|
| Plastic or chemical taste | Manufacturing residue on new filter | Flush 2-3 gallons of water through system |
| Metallic taste | Air in water lines, mineral content | Continue flushing system, check water source |
| Chlorine taste | New filter not yet effectively removing chlorine | Run more water through filter to activate carbon media |
| Fishy or musty smell | Bacteria growth in old filter or dispenser | Clean dispenser area, ensure old filter wasn’t contaminated |
| Carbon taste | Carbon particles from new filter | Continue flushing until water runs clear |
The exact taste issues can provide important clues about what’s causing the problem. A plastic taste typically indicates insufficient flushing of a new filter, while metallic flavors might suggest air in the lines or issues with your water source. Chlorine tastes often indicate the carbon media hasn’t been properly activated yet.
How to Fix Bad Tasting Water After a Filter Change
Proper Flushing Technique
The most effective solution is thorough flushing. Run 3-4 gallons of water through your new filter continuously to remove manufacturing residue and activate the filtration media. For most refrigerators, this means running water for about 5 minutes straight. Discard this water or use it for plants.
Call 888-896-7031 for Free Local HVAC Quotes – Compare and Save Today!
Repeat this process several hours later. Some manufacturers recommend flushing intermittently during the first 24 hours after installation. This helps remove any remaining air bubbles and fully saturates the carbon for optimal filtration.
Check for Proper Installation
Verify your filter is correctly installed according to manufacturer guidelines. An improperly seated filter can cause water to bypass the filtration media or create channels that reduce effectiveness. Check that any O-rings or gaskets are properly placed and not pinched or damaged.
If your filter has an arrow indicating flow direction, ensure it’s oriented correctly. Some filters require specific positioning to function properly, and incorrect installation can significantly impact water quality and taste.
Consider a Filter Reset
Some refrigerators require resetting the filter indicator after changing filters. While this typically doesn’t affect taste directly, it ensures proper system functioning. Check your refrigerator manual for instructions on how to reset the filter indicator. This often involves pressing and holding a specific button combination for 3-5 seconds.
When to Replace Your Refrigerator Water Filter

Understanding proper replacement timing helps prevent taste issues. Most manufacturers recommend replacing refrigerator filters every six months, though actual timing depends on water quality and usage volume. Heavy usage or particularly hard or contaminated water sources may require more frequent changes.
| Usage Level | Recommended Replacement Frequency | Signs Filter Needs Replacement |
|---|---|---|
| Light (1-2 people) | Every 6-9 months | Slight reduction in water flow |
| Average (3-4 people) | Every 6 months | Noticeable taste change, reduced flow |
| Heavy (5+ people) | Every 3-4 months | Significant flow reduction, visible particles |
Waiting too long between filter changes can lead to buildup of contaminants that affect both the old filter’s performance and how quickly a new filter works effectively. Replacing filters on schedule helps prevent dramatic taste differences when installing new filters.
Call 888-896-7031 for Free Local HVAC Quotes – Compare and Save Today!
Different Types of Refrigerator Water Filters and Their Impact on Taste
Not all refrigerator filters are created equal. The filtration technology and quality directly impact water taste after installation. Understanding different filter types can help you choose options that minimize taste issues.
| Filter Type | Filtration Method | Taste Impact After Installation | Price Range |
|---|---|---|---|
| Carbon Block | Activated carbon compression | Minimal initial taste, quick settling | $30-50 |
| Granular Activated Carbon | Loose carbon granules | More initial carbon taste, requires thorough flushing | $25-40 |
| Carbon/KDF Combined | Carbon with zinc/copper media | Possible metallic taste initially, excellent long-term | $40-60 |
| OEM Manufacturer Filters | Varies by brand | Typically less initial taste issues, designed for specific models | $40-70 |
| Generic/Aftermarket | Varies widely | More variable performance, sometimes more initial taste issues | $15-40 |
OEM filters typically cause fewer taste issues because they’re specifically designed for your refrigerator model. Aftermarket options may be less expensive but sometimes require more extensive flushing and break-in periods. Higher-quality filters generally have better quality control that reduces manufacturing residue.
Professional Help vs. DIY Solutions
Most bad taste issues after filter replacement can be resolved with proper flushing and patience. However, persistent taste problems might indicate larger issues with your refrigerator’s water system or the water supply itself.
- DIY Solutions: Flushing filter thoroughly, cleaning dispenser nozzle, checking for proper installation, trying a different filter brand
- When to Call a Professional: Persistent bad taste after multiple flushings, visible particles in water, unusual color or odor, reduced water pressure
If taste issues continue for more than a week despite proper flushing, consider contacting your refrigerator manufacturer or a qualified appliance technician. The problem could be related to the water dispenser system rather than the filter itself.
Some homeowners find success by temporarily using bottled water while the new filter settles in. Most taste issues resolve naturally within 1-2 days of regular use, even without intervention, as the filter media properly conditions itself to your water supply.
Water Source Considerations

Sometimes what appears to be a filter problem is actually related to your home’s water supply. Municipal water quality can vary throughout the year, with seasonal changes in treatment approaches. A coincidental change in water treatment methods when you replace your filter might make it seem like the filter is causing taste issues.
Consider testing your home’s water source directly. If unfiltered tap water suddenly tastes different, the issue likely isn’t your refrigerator filter. In this case, a whole-house filtration solution might be more appropriate than focusing solely on your refrigerator filter.
Tips for Getting the Best HVAC Prices
- Prioritize Quality Over Cost
The most critical factor in any HVAC project is the quality of the installation. Don’t compromise on contractor expertise just to save money. - Check for Rebates
Always research current rebates and incentives — they can significantly reduce your overall cost. - Compare Multiple Quotes
Request at least three estimates before making your choice. You can click here to get three free quotes from local professionals. These quotes include available rebates and tax credits and automatically exclude unqualified contractors. - Negotiate Smartly
Once you've chosen a contractor, use the proven strategies from our guide — How Homeowners Can Negotiate with HVAC Dealers — to get the best possible final price.